Sonday System 2 – How to Add a Student Group
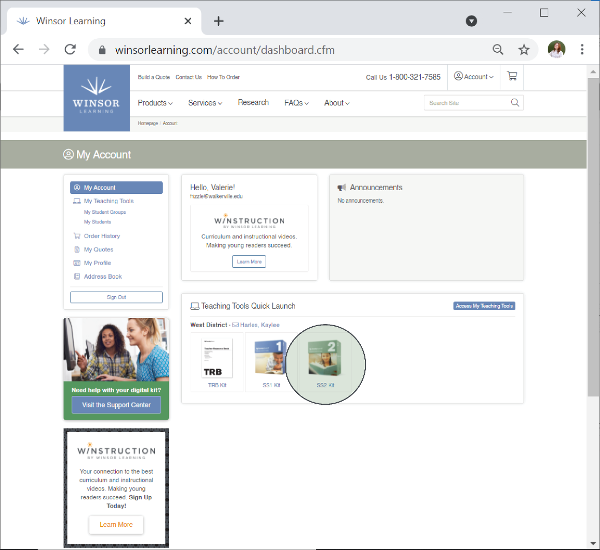
Log into your account at www.WinsorLearning.com.
Select your SS2 Kit under Teaching Tools Quick Launch.
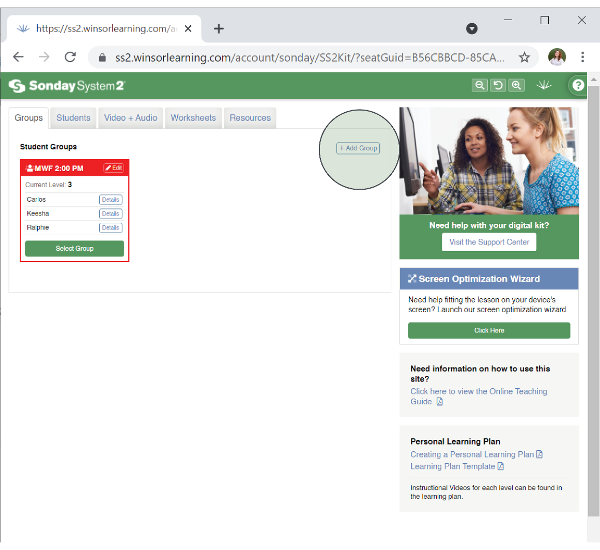
This will take you to the Groups tab of your Teaching Dashboard. The screen below shows groups already added. You will need to add your own groups. To do so, click Add Group.
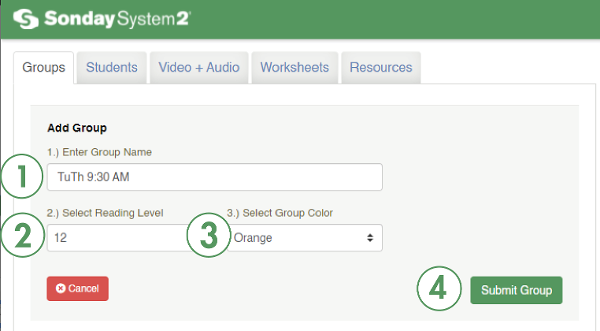
- Enter a group name. You can give each group any name you choose. It will help if you include your teaching schedule in the group’s name. If your schedule is not always consistent, simply use the group color feature (Item 3 below) to easily keep track of your groups.
- Select reading level. This function gives you the ability to select the Reading Level at which you will begin teaching this group in the digital version. If you have been working with this group previously, you may have progressed through some of the Sonday System levels already.
- Select group color. This will help differentiate each group. Some teachers do this step first and then name the group according to the color they choose.
- Click Submit Group.
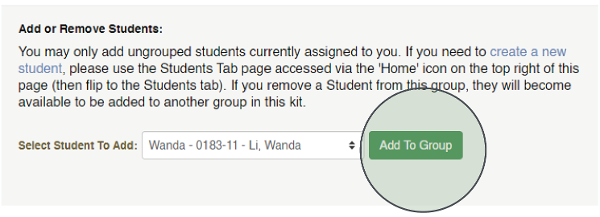
- Scroll down until you see Add or Remove Students. To add an unassigned student to the group, choose their name from the dropdown menu and click the green Add to Group button. You may only add ungrouped students. If you need to create a new student, follow the provided link or click the Students tab then the Create a New Student button. See this article on adding students if you need more information.
- When you are finished assigning students to the group, scroll back up and click the green Save Changes button.
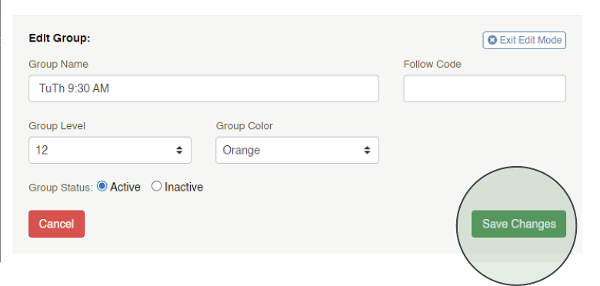
TIP: Changes can be made to the group at any time after a group is created by clicking the pencil next to the group's name.